Home recording has transformed the way music, podcasts, and audio content are created, giving anyone with passion and creativity the ability to produce professional-quality sound from the comfort of their own space. What once required expensive studios and specialized engineers can now be accomplished with a modest setup and a solid understanding of the basics. For beginners, stepping into home recording is both exciting and empowering, offering a gateway to creativity, storytelling, and self-expression. At its core, home recording is about capturing sound in a controlled environment and shaping it into a polished final product. Whether you want to record music, start a podcast, narrate audiobooks, or experiment with sound design, the same foundational principles apply. By learning the essential tools, techniques, and setup strategies, you can build a home recording system that delivers impressive results without overwhelming complexity.
A: A microphone, headphones, recording software, and a quiet space are enough to begin.
A: Yes, USB microphones are great for beginners and simple setups.
A: Only if you use XLR microphones or want better control and sound quality.
A: A quiet room with soft surfaces and minimal echo works best.
A: Turn off noisy devices, use soft materials, and choose a quiet recording time.
A: Echo comes from sound bouncing off hard surfaces like walls and floors.
A: Keep levels moderate with headroom to avoid clipping.
A: Yes, most modern laptops can handle basic recording and editing tasks.
A: No, you can start with headphones and upgrade later.
A: A clean, clear recording with a strong performance matters most.
Understanding the Basics of Home Recording
Before diving into equipment and setup, it’s important to understand how home recording works. Sound is captured using a microphone, converted into digital data, and stored on a computer where it can be edited and refined. This process involves a combination of hardware and software working together seamlessly.
The simplicity of modern technology means that even beginners can achieve high-quality recordings with minimal gear. However, knowing how each component contributes to the final sound allows you to make smarter decisions and avoid common pitfalls. Home recording is not just about having the right tools, but also about understanding how to use them effectively.
Essential Equipment to Get Started
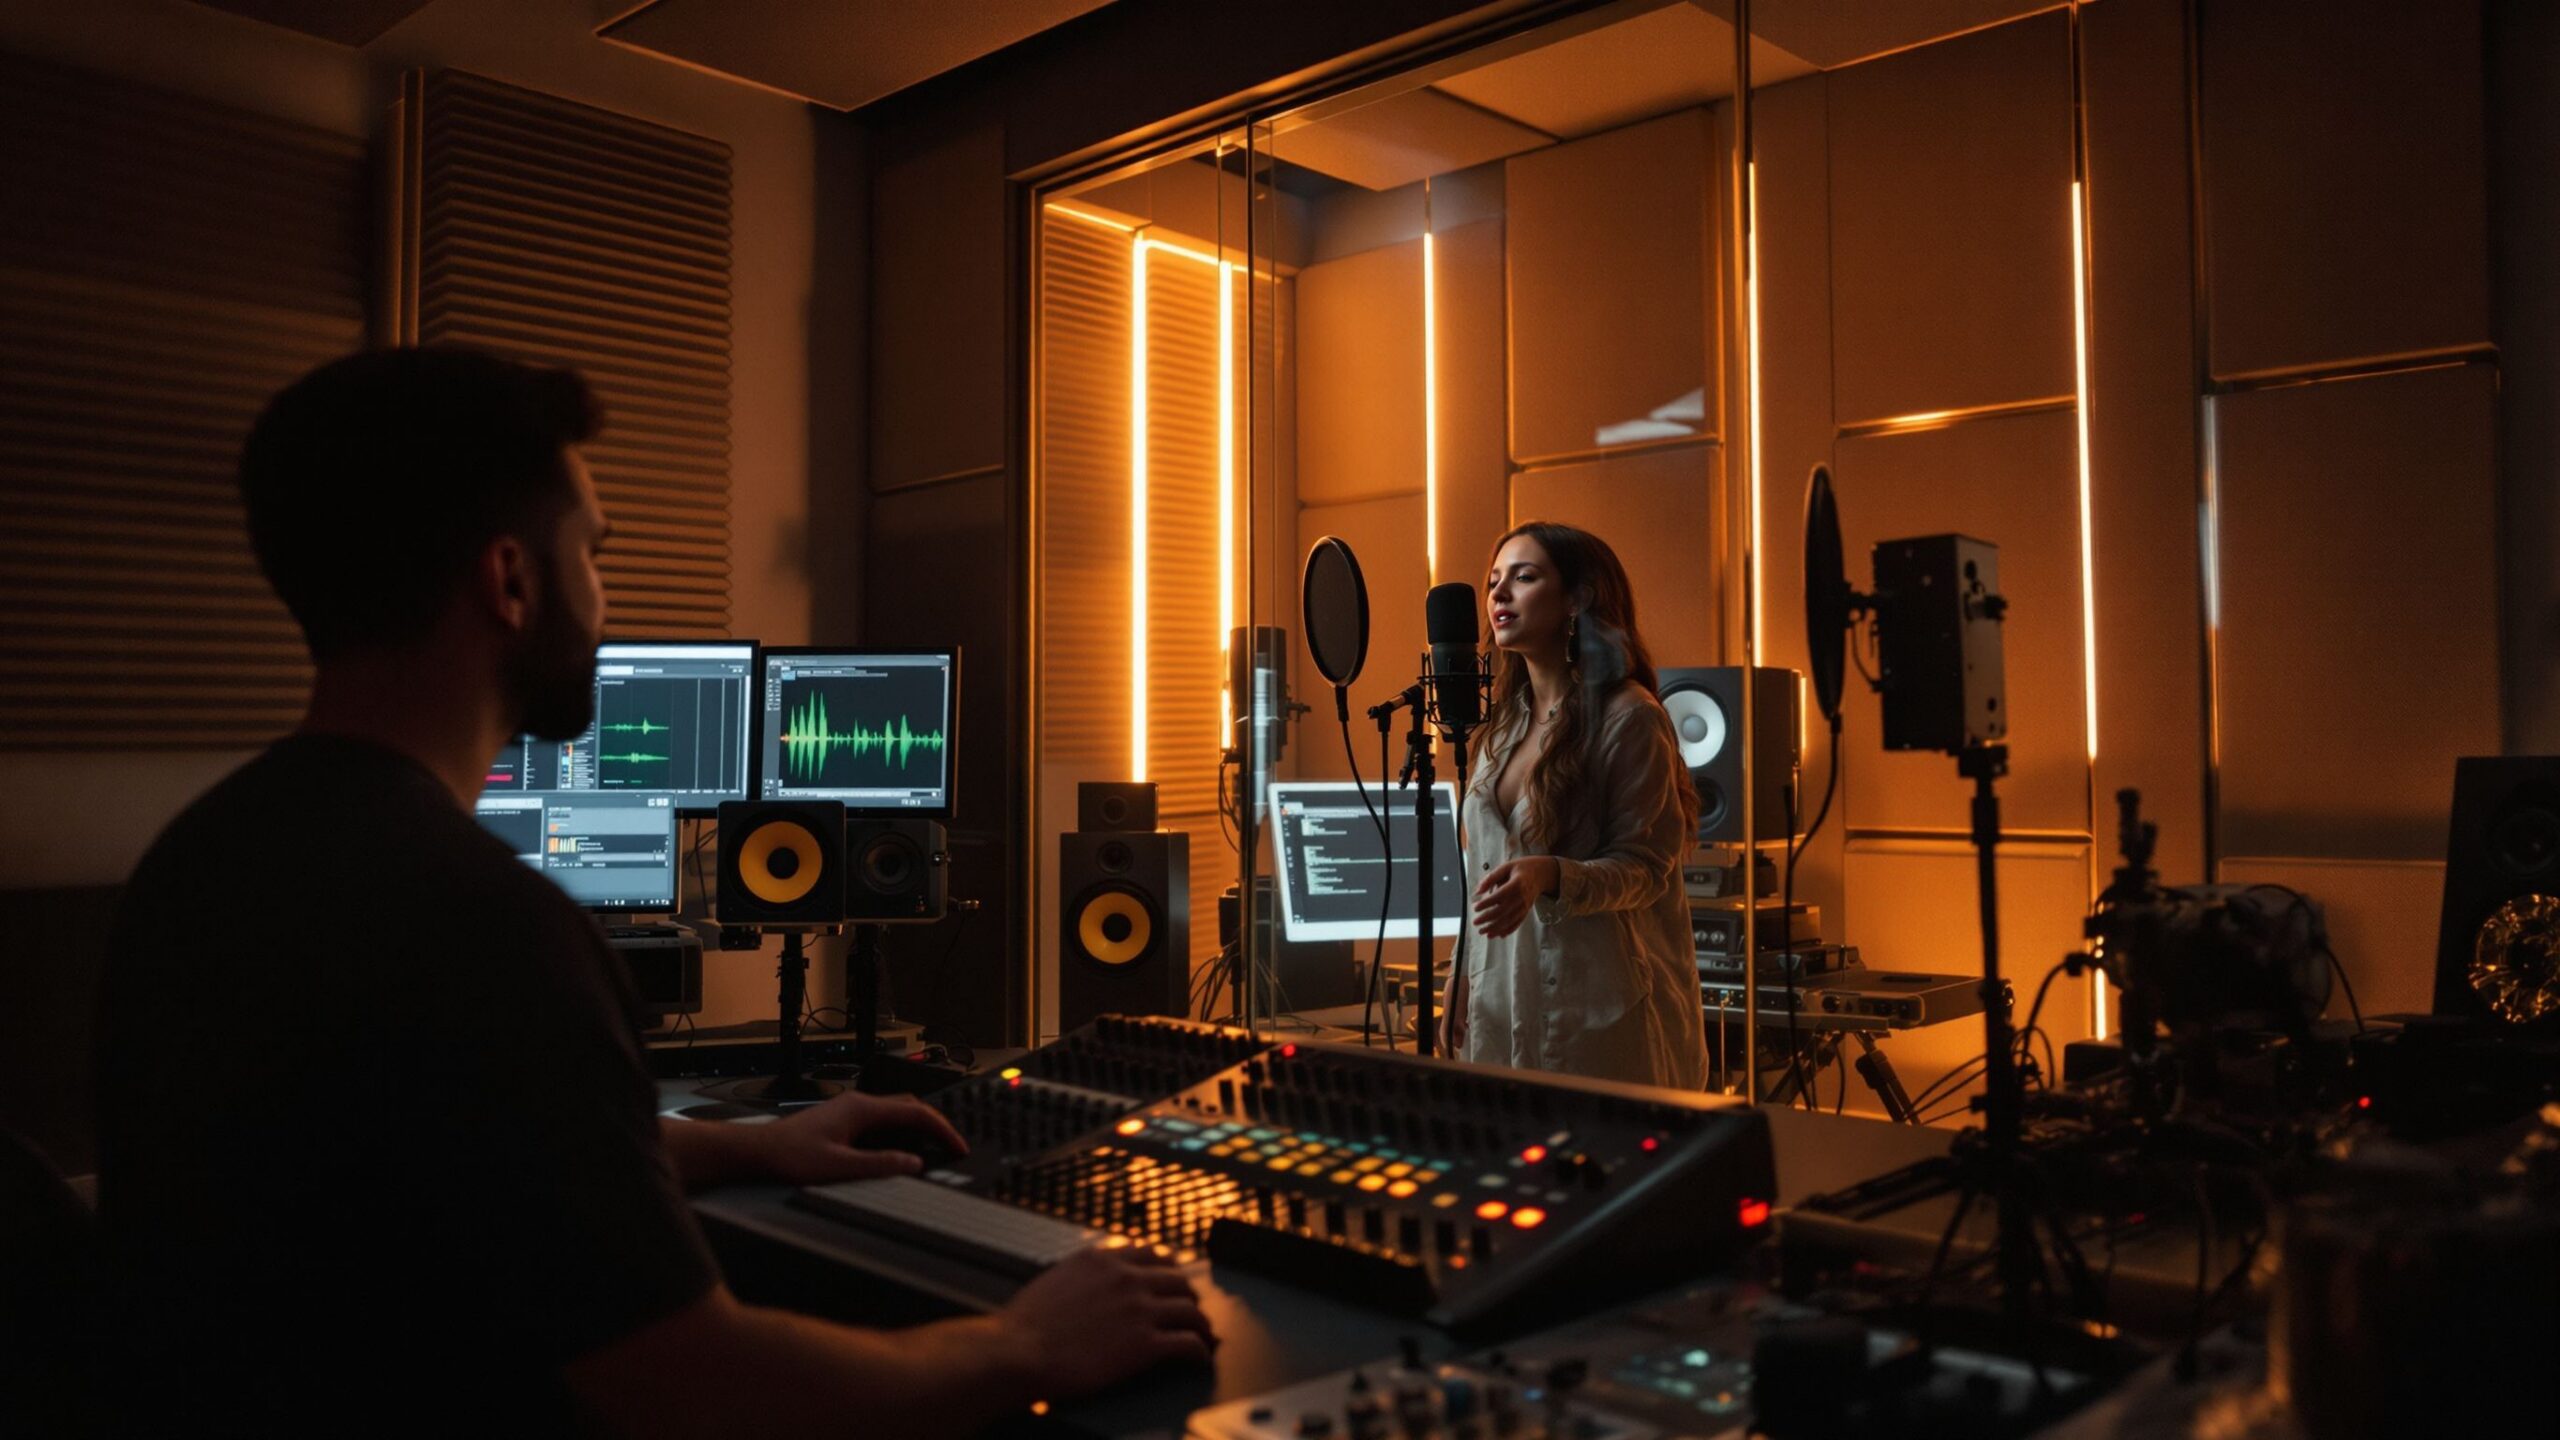
A beginner home recording setup doesn’t need to be complicated, but a few key pieces of equipment are essential. The most important tool is the microphone, as it determines how your sound is captured. A good-quality condenser microphone is often recommended for home studios because of its ability to capture detail and clarity, especially for vocals and acoustic instruments.
An audio interface is another crucial component. This device connects your microphone to your computer and converts analog signals into digital audio. It also allows you to control input levels and monitor your recordings in real time. Without an audio interface, your recordings may lack the depth and quality needed for professional results.
Headphones are essential for monitoring audio during recording and editing. Closed-back headphones are typically preferred because they prevent sound from leaking into the microphone. Studio monitors, or speakers, can be added later to provide a more accurate representation of your audio during mixing.
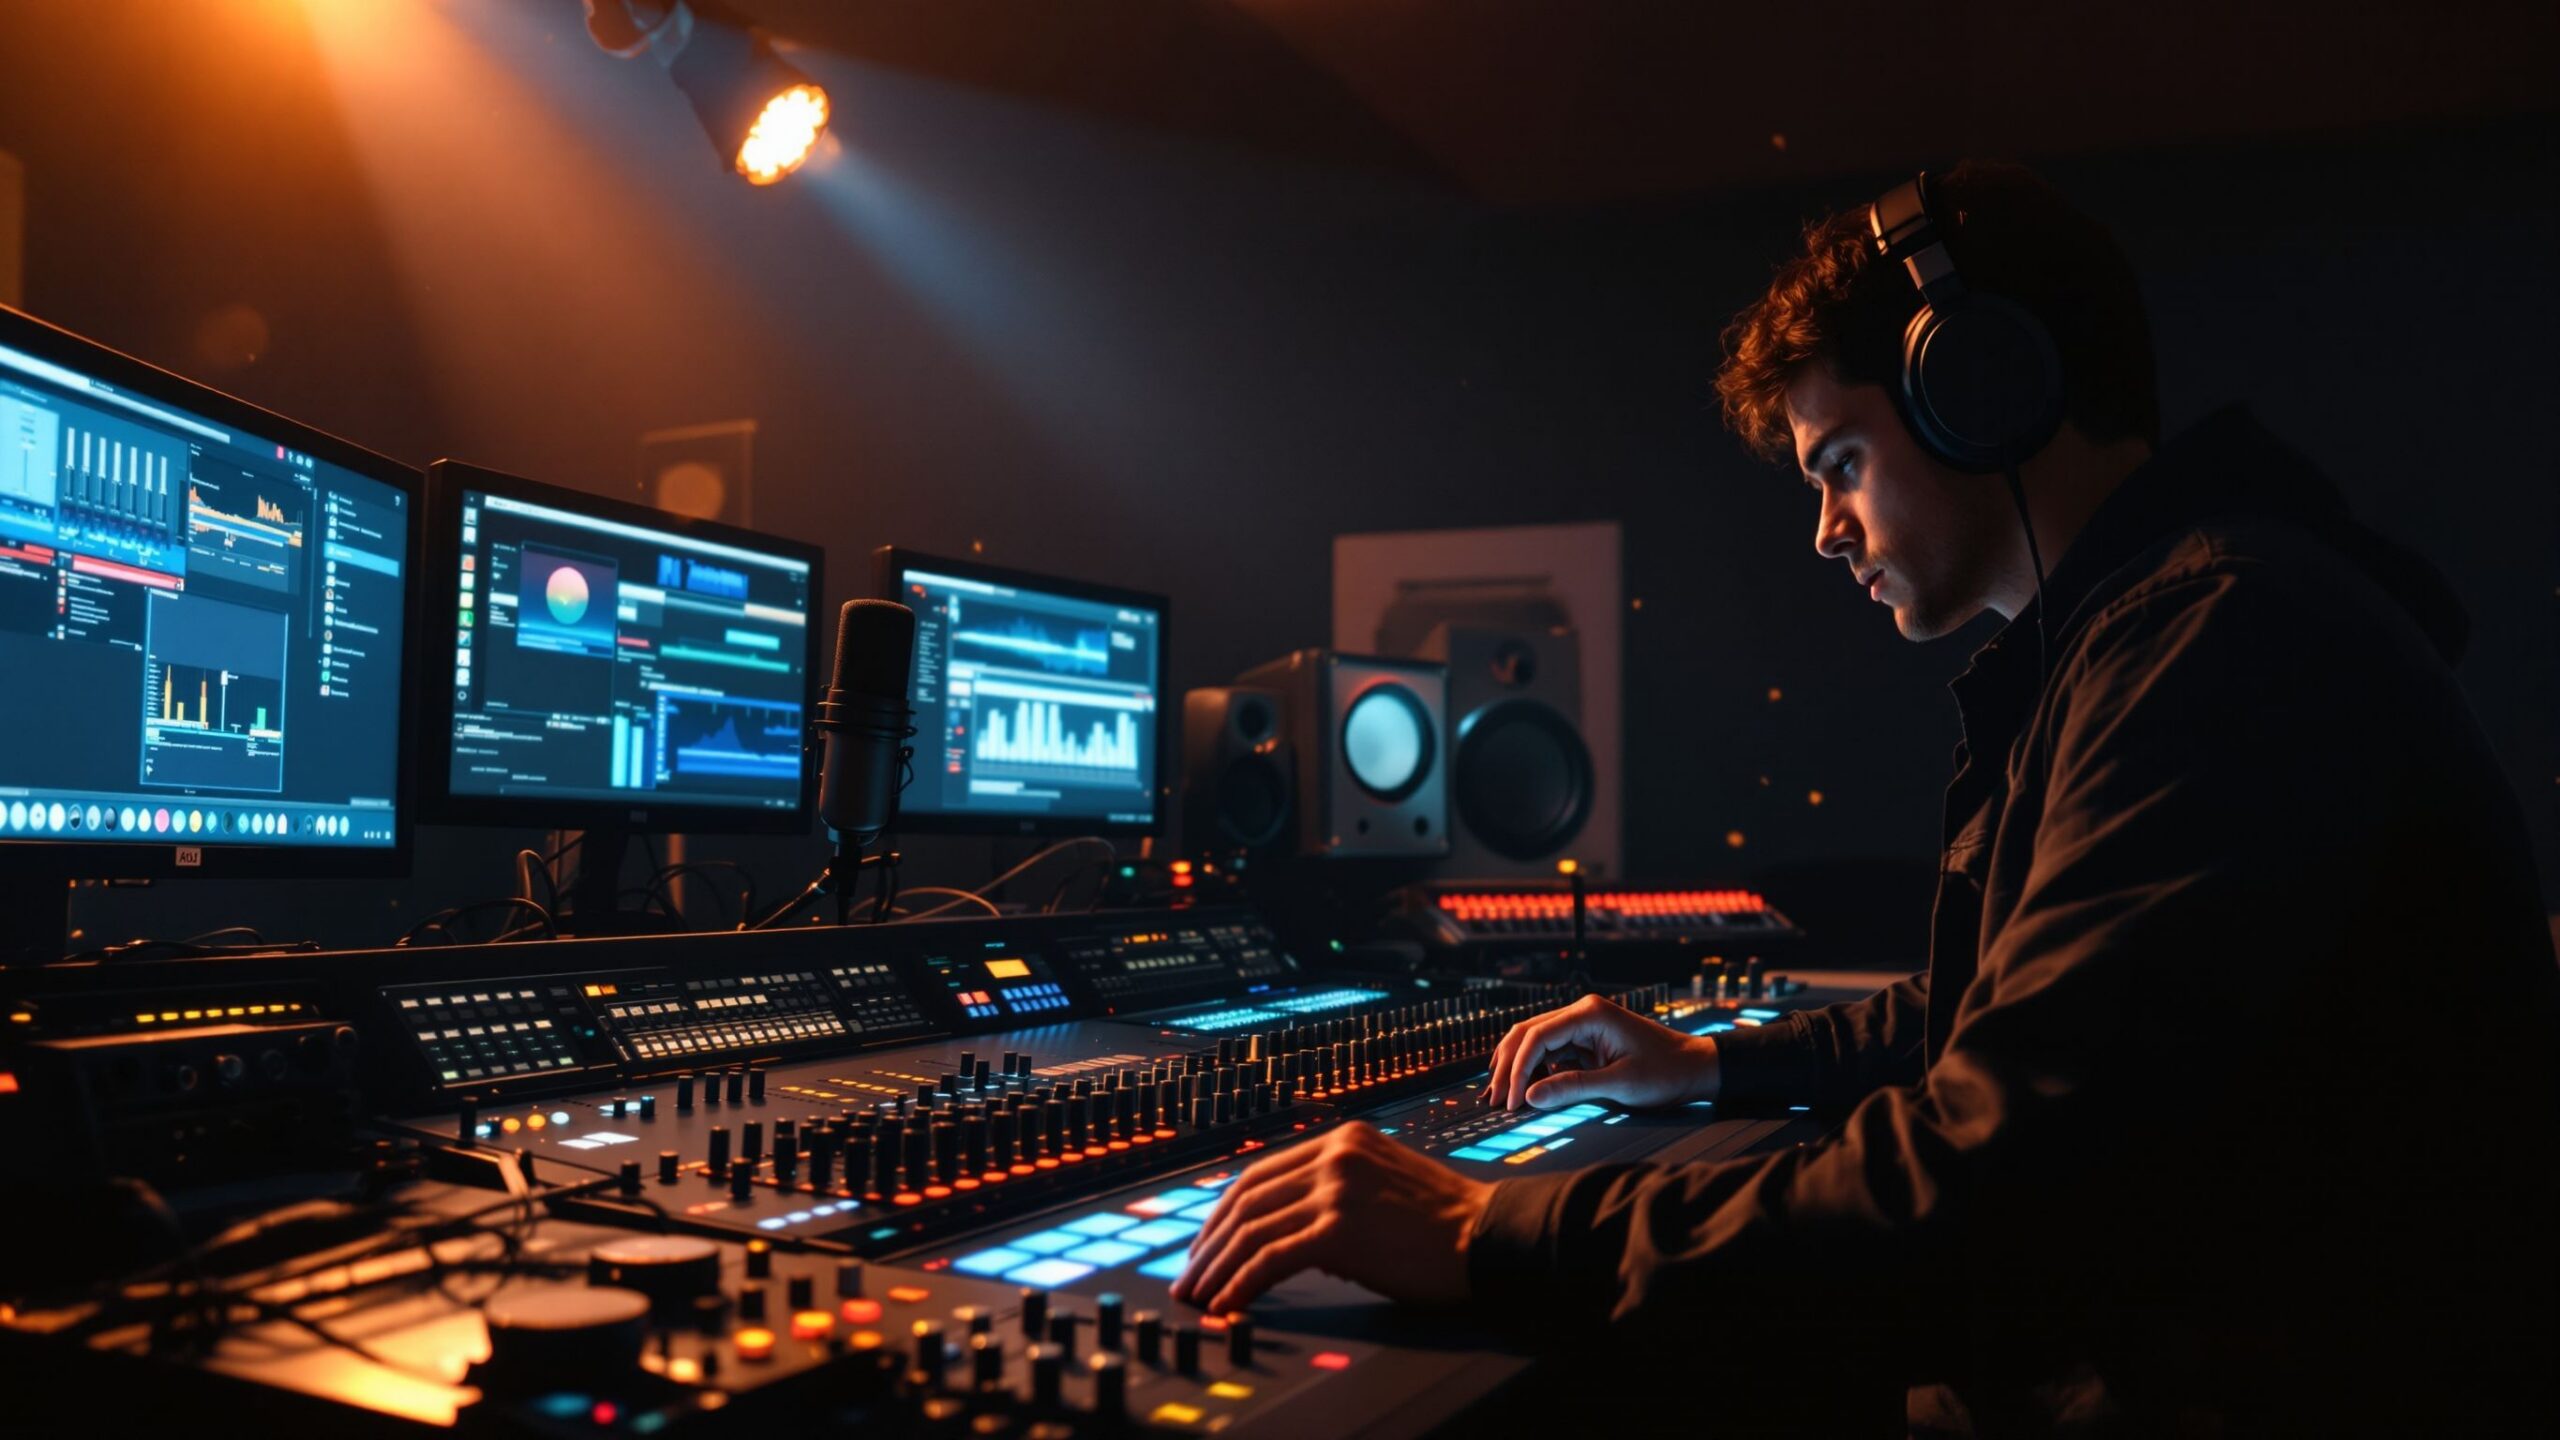
A computer with recording software, often called a digital audio workstation, completes the setup. This software allows you to record, edit, and mix your audio tracks. Many beginner-friendly options are available, offering powerful features with intuitive interfaces.
Setting Up Your Recording Space
The environment in which you record has a major impact on the quality of your audio. Unlike professional studios, home spaces are not designed for optimal acoustics, but with a few adjustments, you can significantly improve your recordings.
Choosing a quiet room is the first step. Background noise from traffic, appliances, or other people can interfere with your recordings and be difficult to remove later. Soft materials such as carpets, curtains, and furniture help absorb sound and reduce echoes, creating a cleaner recording environment.
Positioning your microphone correctly is equally important. Placing it at an appropriate distance from the sound source ensures clarity and prevents distortion. Using a pop filter can help reduce unwanted plosive sounds when recording vocals, resulting in a smoother and more professional sound.
Understanding Recording Software
Recording software is the heart of your home studio, providing the tools needed to capture and shape your audio. Digital audio workstations allow you to create multiple tracks, edit recordings, and apply effects to enhance your sound.
For beginners, learning the basics of a DAW is a crucial step. This includes understanding how to record audio, adjust levels, cut and arrange clips, and apply basic effects like equalization and compression. While advanced features may seem intimidating at first, starting with simple tasks helps build confidence and familiarity.
The flexibility of modern software means you can experiment freely, trying different approaches and discovering what works best for your style and goals.
Recording Techniques for Better Sound
Good recording techniques can make a significant difference in the quality of your audio. One of the most important aspects is maintaining proper recording levels. Setting your input gain too high can cause distortion, while setting it too low may result in a weak and noisy signal.
Microphone technique is another key factor. Consistency in distance and positioning helps maintain a balanced and professional sound. For vocals, staying at a steady distance from the microphone prevents fluctuations in volume and tone.
Taking multiple takes is a valuable practice, allowing you to choose the best performance during editing. This approach reduces pressure during recording and increases the chances of achieving a polished final result.
Editing and Improving Your Recordings
Once your audio is recorded, editing allows you to refine and enhance it. This stage involves removing mistakes, adjusting timing, and improving overall clarity. Even simple edits can have a noticeable impact on the quality of your recording.
Basic editing tasks include trimming unwanted sections, reducing background noise, and balancing volume levels. Equalization can be used to shape the tonal balance, while compression helps control dynamics and create a more consistent sound.
Effects such as reverb and delay can add depth and character, but they should be used carefully. Subtlety is key, as overusing effects can make your recording sound unnatural or cluttered.
Mixing Your Audio
Mixing is the process of combining multiple tracks into a cohesive final piece. This involves balancing levels, panning sounds across the stereo field, and applying effects to create a polished sound.
A good mix ensures that each element of your recording can be heard clearly while contributing to the overall composition. This requires careful listening and adjustments, as well as an understanding of how different sounds interact with each other.
For beginners, focusing on clarity and balance is more important than achieving perfection. With practice, mixing becomes an intuitive and rewarding part of the recording process.
Common Mistakes to Avoid
When starting out in home recording, it’s easy to make mistakes that can affect the quality of your audio. One of the most common issues is neglecting the recording environment, leading to unwanted noise and echo. Another mistake is using improper gain settings, which can result in distorted or weak recordings.
Relying too heavily on editing to fix problems is another pitfall. While editing tools are powerful, capturing a clean recording from the start is always the best approach. Taking the time to set up your equipment and environment properly can save significant effort later.
Patience is essential. Learning home recording takes time, and each session provides valuable experience that helps you improve.
Expanding Your Home Studio
As you gain experience, you may want to expand your home recording setup. Adding studio monitors can provide a more accurate listening experience during mixing, while additional microphones allow you to record different types of sound sources.
Acoustic treatment can further improve your recording environment, reducing unwanted reflections and enhancing clarity. Investing in higher-quality equipment can also elevate your recordings, but it’s important to focus on skill development before upgrading gear.
Home recording is a journey, and your setup can evolve as your needs and abilities grow.
The Creative Power of Home Recording
Beyond the technical aspects, home recording is a powerful creative tool. It allows you to experiment with ideas, collaborate with others remotely, and bring your artistic vision to life. The freedom to record at your own pace encourages exploration and innovation.
Whether you’re creating music, producing podcasts, or capturing everyday moments, home recording provides a platform for expression and connection. It transforms your space into a studio where creativity can flourish.
Start Recording Today
Home recording for beginners is an accessible and rewarding endeavor that opens the door to endless creative possibilities. By understanding the basics, investing in essential equipment, and practicing effective techniques, you can create high-quality recordings from your own home.
The journey may start with simple tools and basic knowledge, but with dedication and curiosity, it can lead to professional-level results. The most important step is to begin, experiment, and enjoy the process of capturing sound and turning it into something meaningful.